


Open the claim form on the Department of Communities intranet page.
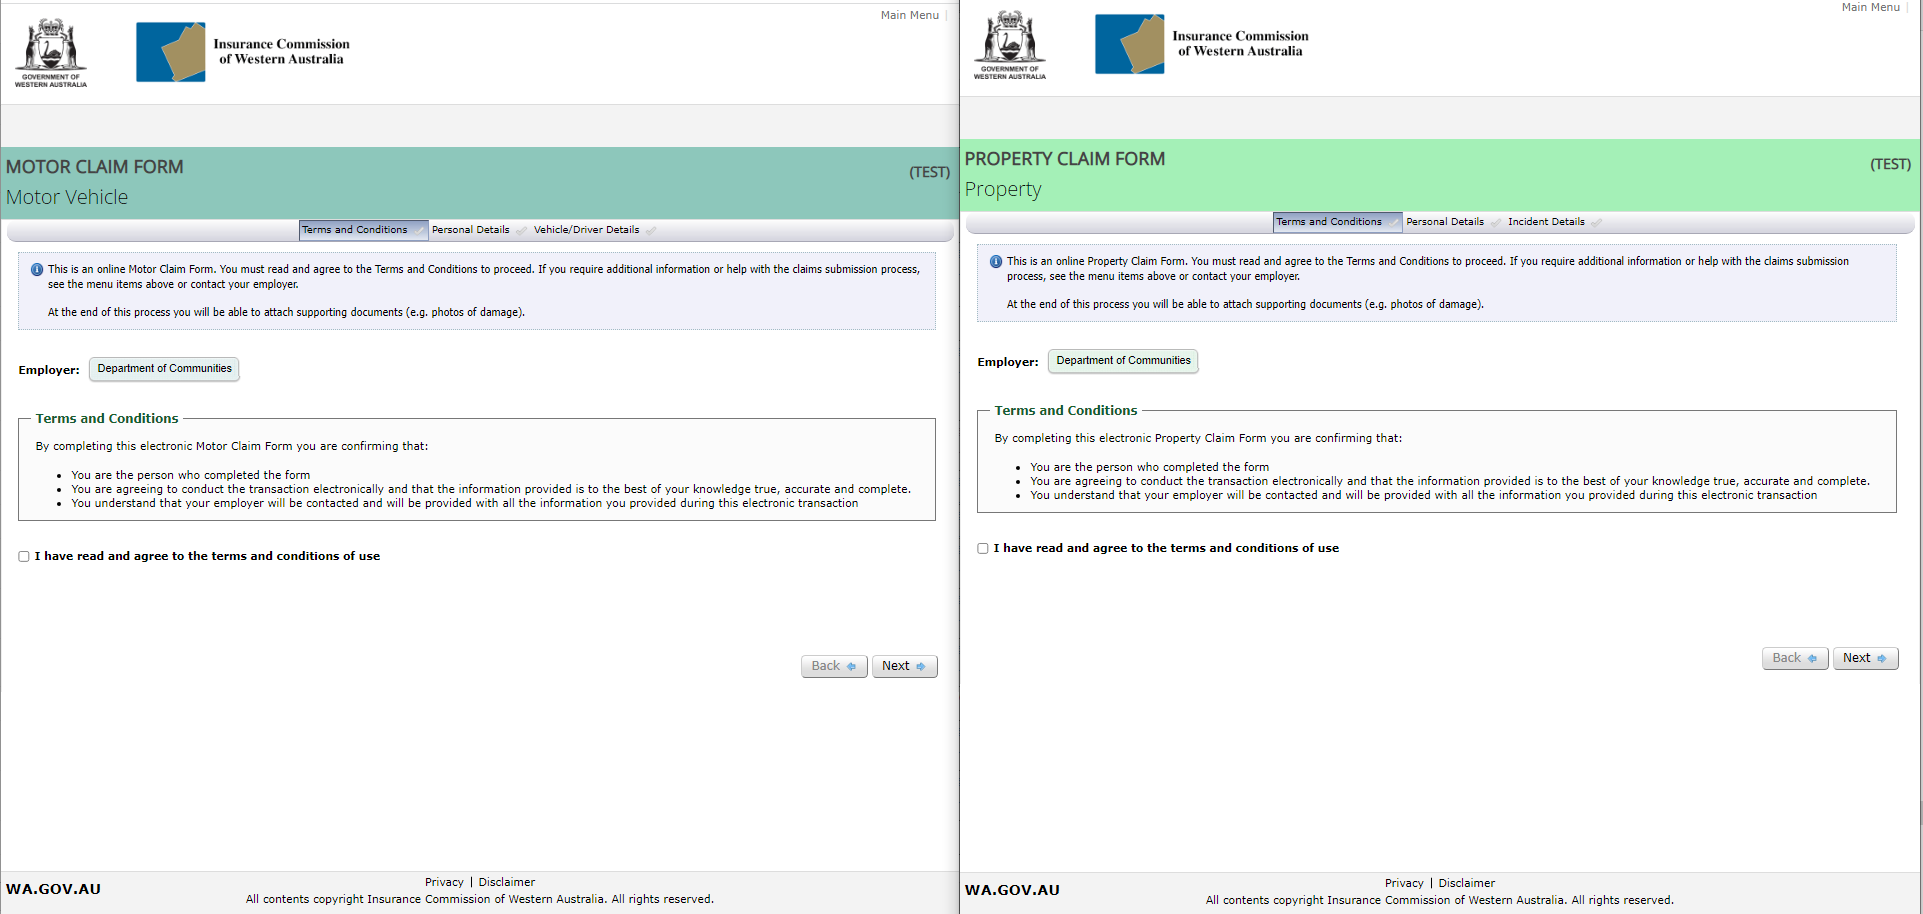
This is the first page that appears when the employee who is completing the claim form selects the Motor or Property eClaims link:
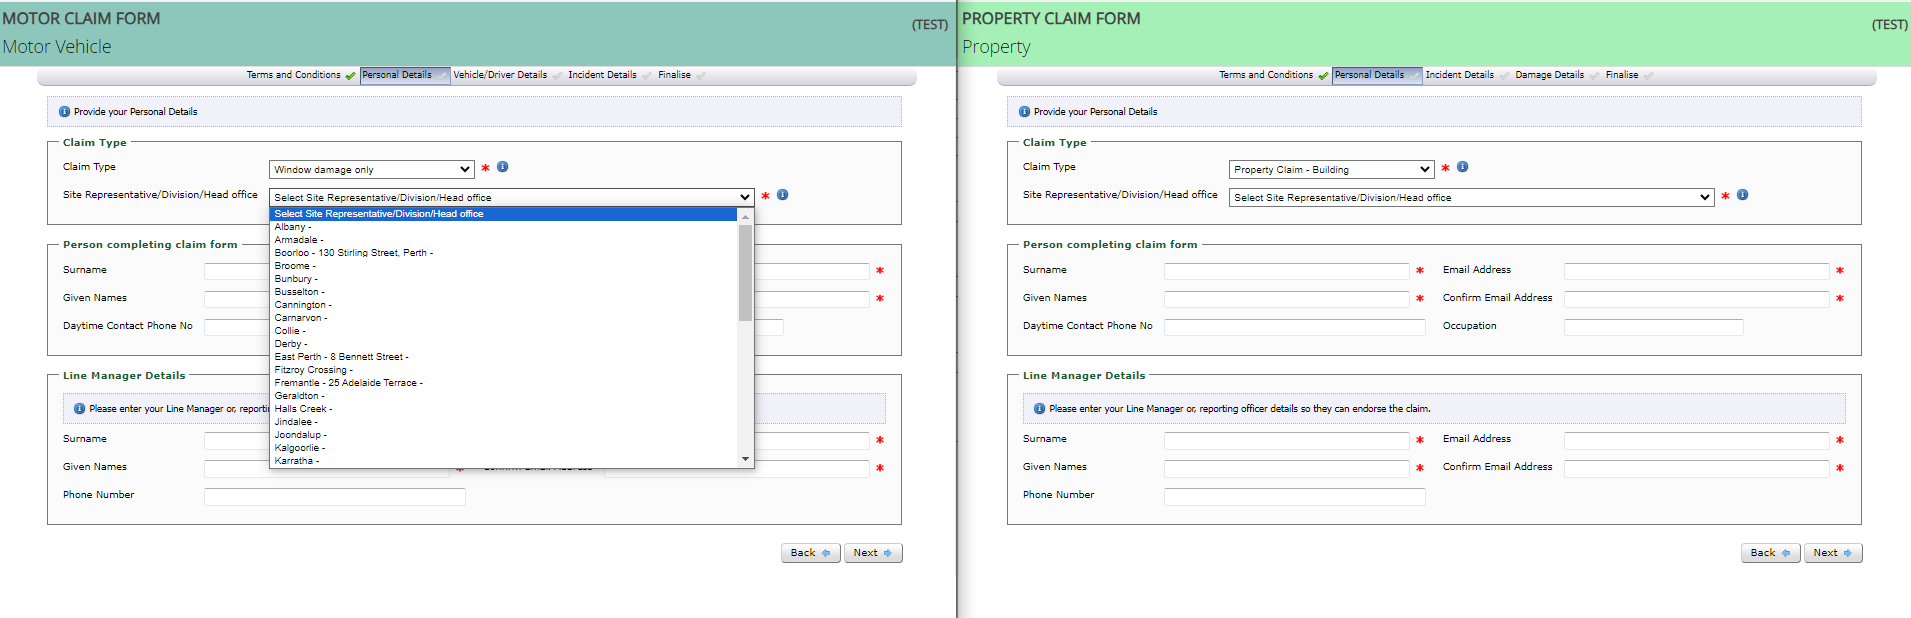
The second page of the claim form contains questions that play an important role in the progression of the claim form submission, specifically:
- ‘Claim Type’: An option must be selected from the drop down list, please refer to the information icon near this field for a description of the choices.
IMPORTANT: This selection determines the questions that appear as you progress with the claim form. Once you move onto the remaining pages in the claim form it is not possible to come back to this field on the ‘Personal Details’ page and change the selection made. If an incorrect option is selected the current claim form must be deleted by Department of Communities’ Facilities Management contacts, and a new claim form must be created.
- ‘Site Representative/Division/Head Office’: The local District Office the claim relates to must be selected if an option is required. When a selection is made it displays the District Office group email address that will be used to enable the final stage of the submission process (Step 3) to be completed.
- ‘Person Completing Claim Form’: Enter the details of the employee who is creating the claim form. The email address is to be their individual work email address, it must not be the same as the email address listed in the above ‘Site Representative/Division/Head Office’ field, or what will be used for the below ‘Line Manager Details’ field.
- ‘Line Manager Details’: Enter the details of the direct Line Manager of the person entered in the ‘Person Completing Claim Form’ section mentioned above. It must not be the same email address as the ‘Person Completing Claim Form’ and ‘Site Representative / Division / Head Office’ above.
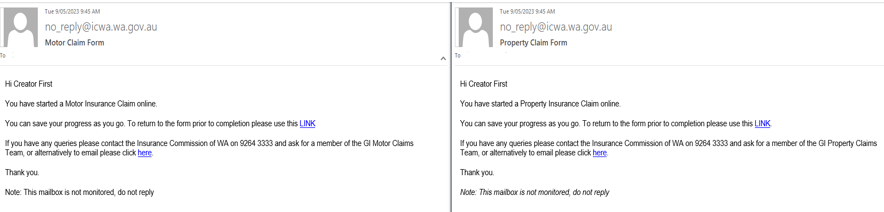
Once ‘Next’ is selected an email is sent to the address entered in the ‘Person Completing Claim Form’ section providing a link to the draft claim form so it can be saved and completed at a later date – see example below.
Email example: Employee – Draft claim form link
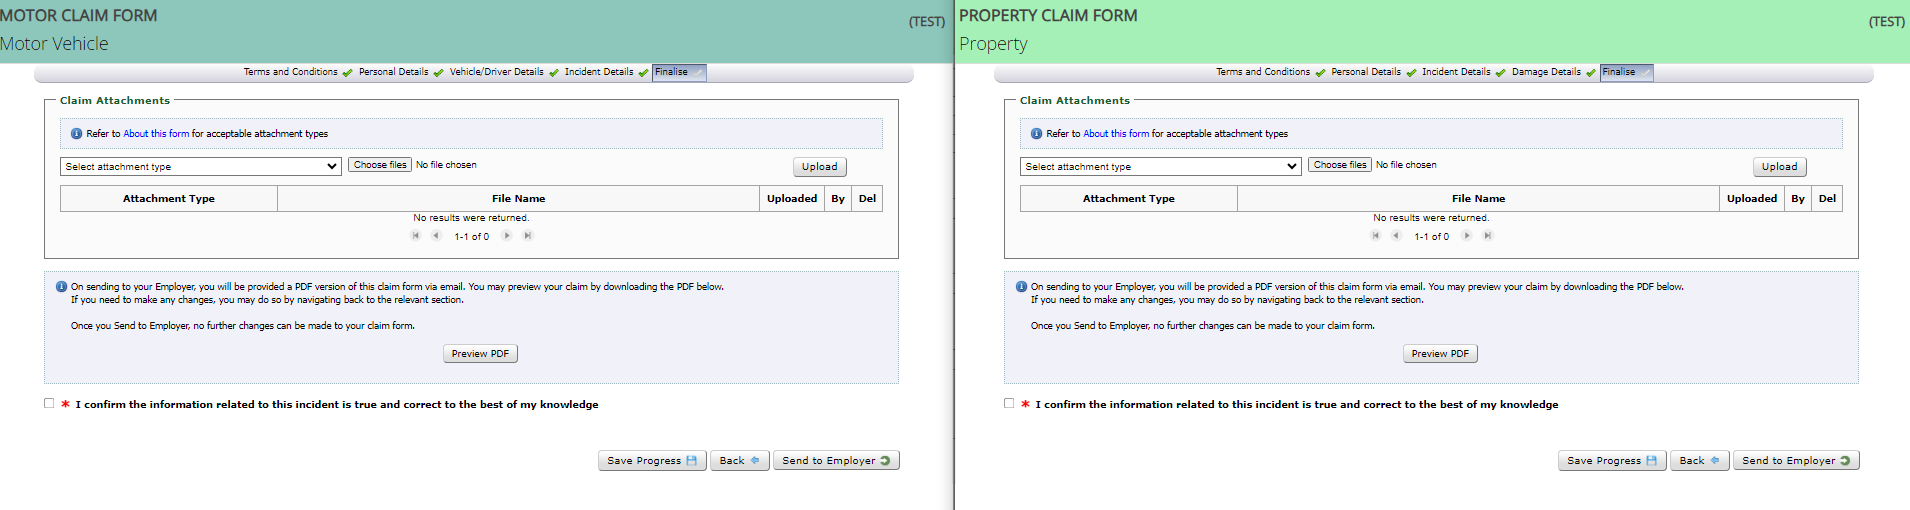
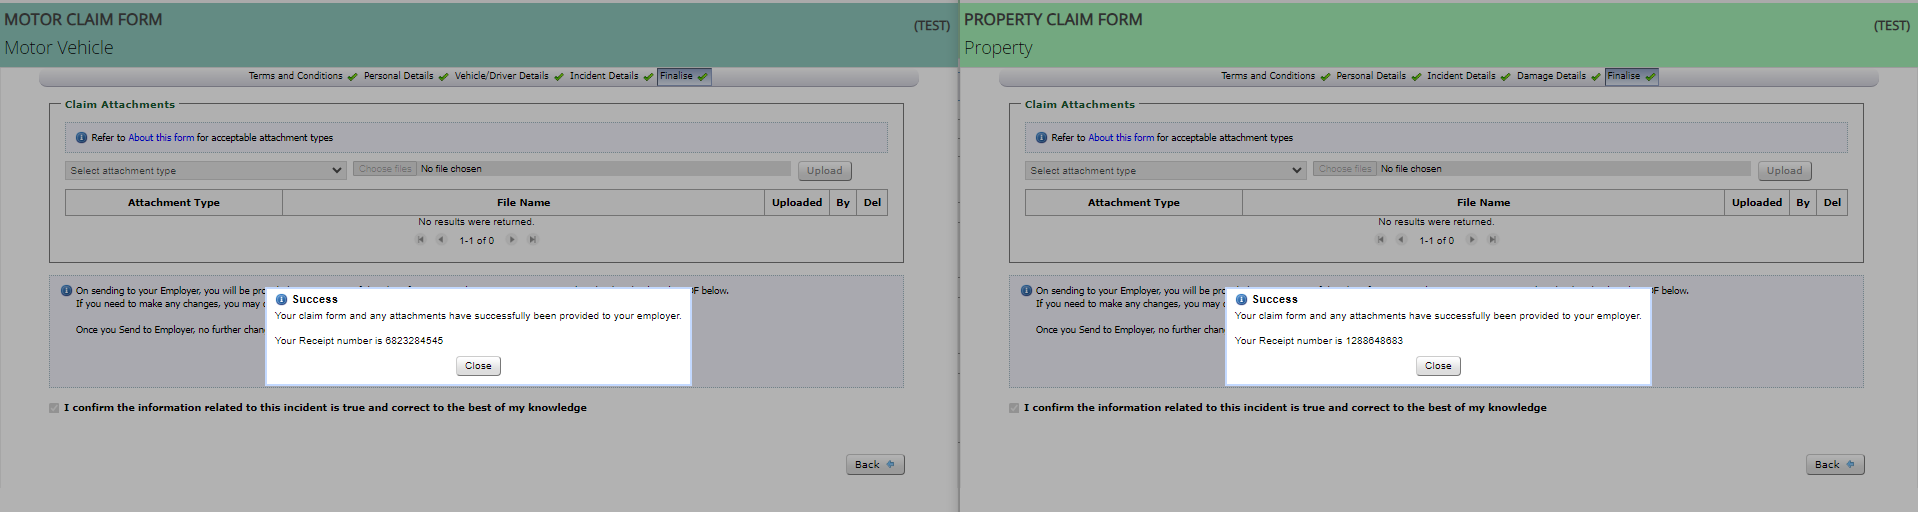
Once the employee who created the claim form progresses through all relevant pages and questions (as determined by the ‘Claim Type’ that was selected in the ‘Personal Details’ page) the last page of the form displays as per the example below.
To complete the form and progress it to Step 2 (Line Manager Endorsement), the employee selects ‘Send to Employer’.
A temporary Receipt Number to track the claim form submission process now appears on the screen for their reference, this is also included in emails explained further below. Please note this is not the Claim Number as the form has not been submitted to ICWA until step 3.
Once ‘Send to Employer’ is selected no further changes can be made by the employee who completed the form.
On selection of ‘Send to Employer’ the following three emails are sent:
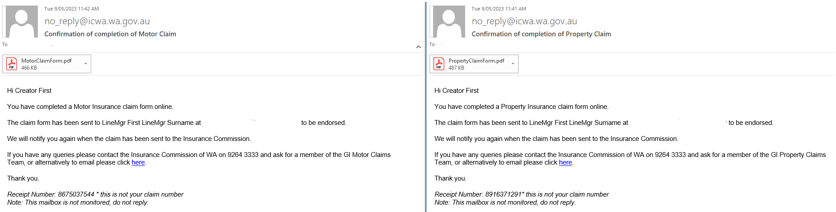
1. To the address in the ‘Person Completing Claim Form’ section (employee who created the claim form) providing the temporary Receipt Number – see example below.
Email example: Employee – Claim form created (Receipt Number)
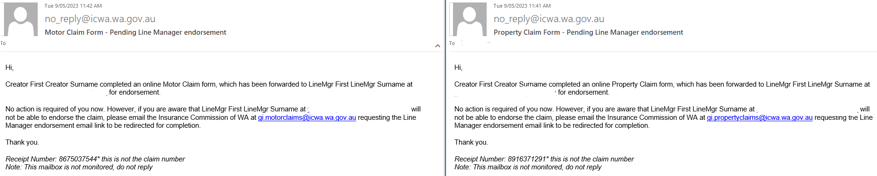
2. To the District Office group email address that corresponds with the selection made in the ‘Site Representative/Division/Head Office’ field, advising that a claim has been created, and the details of the Line Manager input for endorsement in Step 2 - see example below.
Email example: District Office – Claim form created (Receipt Number)
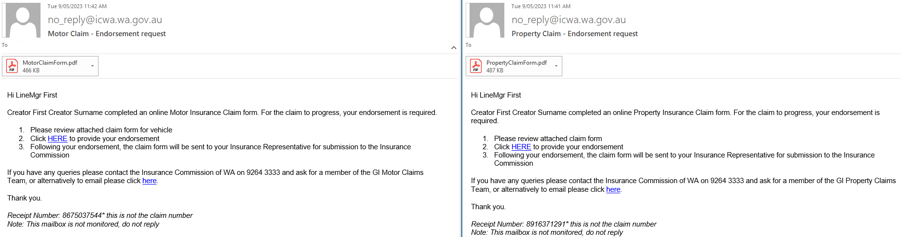
3. To the Line Manager’s email address that was input to complete the endorsement action in Step 2 - see example below.
Email example: Line Manager – Endorsement request
Page Last Updated 19 Jan 2024